Follow Me On Social Media!

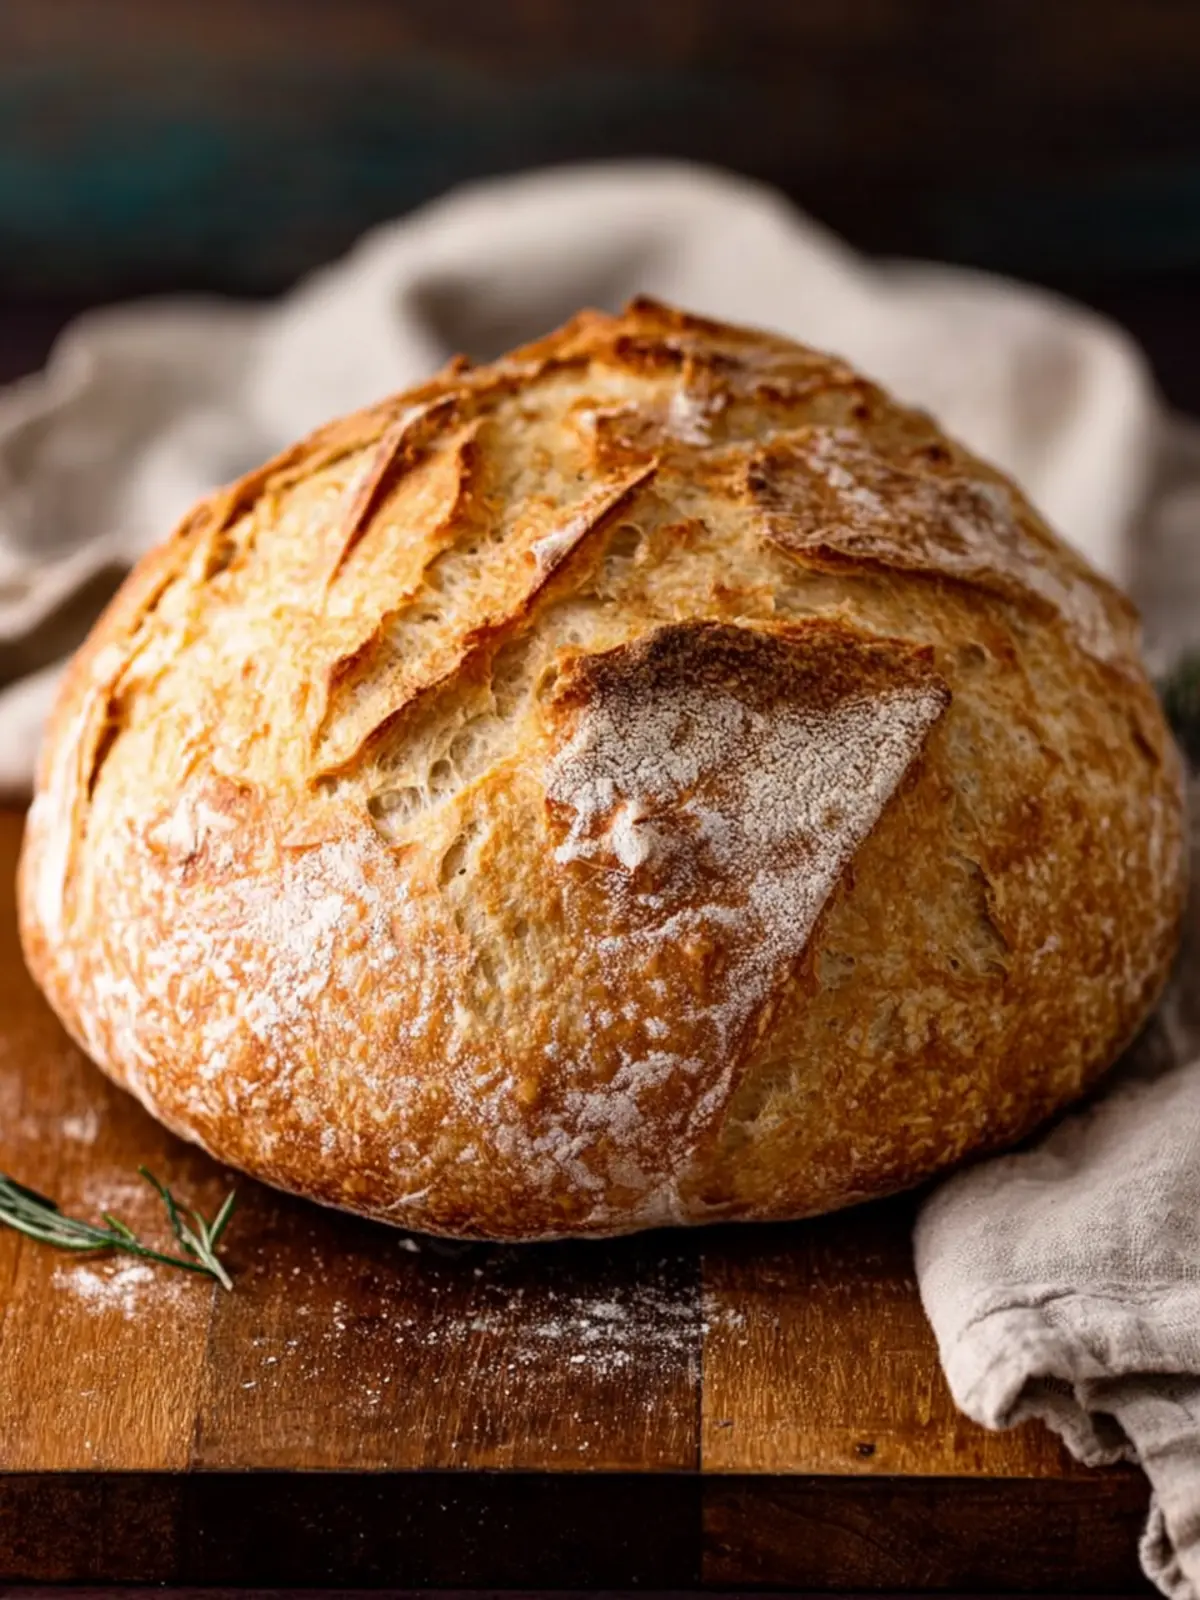
Easy Homemade Artisan Bread: Irresistibly Crusty Delight
Introduction to Easy Homemade Artisan Bread Recipe
Crafting easy homemade artisan bread in your own kitchen is a delightful journey that transforms simple ingredients into a warm, crusty loaf. Imagine the aromatic scent of fresh bread wafting through your home, drawing friends and family to the kitchen. Rather than relying on supermarket loaves, why not harness the therapeutic process of baking bread? The tactile nature of kneading, the anticipation of rising dough, and the satisfaction of pulling a golden vehicle of flavor from the oven create a rewarding experience that isn’t easily surpassed.
Why is Making Artisan Bread at Home a Rewarding Experience?
There’s something inherently satisfying about creating something from scratch, and homemade artisan bread is the epitome of this experience.
-
Connection to the Craft: Baking bread allows you to reconnect with a culinary tradition that dates back thousands of years. You are not just following a recipe; you are participating in a time-honored practice.
-
Quality Control: When you bake your own bread, you have complete control over the ingredients. This allows you to choose organic flour or experiment with whole grains, ensuring that what you consume is both wholesome and delicious.
-
A Celebration of Creativity: Bread making is an art. You can customize your loaf by adding seeds, herbs, or spices, giving you the freedom to experiment with flavors that suit your palate.
-
Nourishment and Connection: Sharing freshly baked bread with loved ones fosters connection. It’s an invitation to gather around the table and enjoy life together, creating memories over slices slathered with butter or toppings of your choosing.
-
Therapeutic Process: Kneading dough can be incredibly therapeutic. The process can serve as a mindful moment in your busy day, helping to relieve stress as you focus on the rhythm of your hands.
In a world dominated by fast food and convenience, taking the time to make easy homemade artisan bread offers a chance to slow down and cherish the simple pleasures of life. Each loaf carries your unique touch, turning an ordinary day into something extraordinary. So, let’s dive into the ingredients and get started on this rewarding culinary adventure!
Key Ingredients for Easy Homemade Artisan Bread
Flour: The soul of easy homemade artisan bread, flour plays a crucial role in developing that chewy texture we all love. I prefer using all-purpose flour for its versatility, but if you’re looking to experiment, bread flour can offer even more strength and structure.
Water: Always use lukewarm water to activate the yeast effectively. The warmth awakens the yeast, creating those delightful air bubbles that make your bread light and airy. Too hot, though, and you’ll kill the yeast, so finding that sweet spot is essential.
Yeast: I often rely on active dry yeast for its reliability and ease of use. Just a small amount can yield a light loaf. If you’re in a pinch, instant yeast works as a great alternative—no need to dissolve it first.
Salt: A simple yet vital ingredient, salt enhances the flavor of your easy homemade artisan bread and strengthens the gluten, improving elasticity. Just don’t add it directly to the yeast; let them work their magic separately first.
Sugar: A touch of sugar not only flavors your bread but also helps feed the yeast during fermentation, promoting that lovely rise in your dough. Even a teaspoon can make a big difference!
These ingredients come together beautifully, creating a loaf that is not only delicious but also a joy to make. So, roll up your sleeves and let’s get baking!
Why You’ll Love This Easy Homemade Artisan Bread
Healthier choice than fast food
There’s a comforting allure in the idea of easy homemade artisan bread. Unlike fast food options loaded with preservatives, this bread is crafted from wholesome ingredients you can feel good about. By making it yourself, you have control over what goes into your loaf—no hidden additives or excessive sugar. Plus, the heartiness of whole ingredients can contribute to a well-balanced diet, making it a deliciously satisfying alternative to greasy takeout.
Freshly baked aroma fills your home
Imagine walking into your kitchen and being enveloped by the warm, inviting aroma of easy homemade artisan bread baking in the oven. It’s a sensory experience that can instantly lift your spirits. This nostalgic scent not only makes your home cozy but can also evoke fond memories of family gatherings and comforting meals. It’s a reminder of simpler times and the joy of sharing freshly baked bread with loved ones.
Budget-friendly and customizable
Why settle for store-bought when you can create something truly unique? Crafting your own easy homemade artisan bread is a budget-friendly way to enjoy high-quality bread without breaking the bank. You can customize it to suit your preferences, adding herbs, seeds, or even cheese to elevate your loaf. With just a few staple ingredients, you can have a gourmet experience at home, ensuring that each bite is exactly how you like it—deliciously satisfying and tailored just for you.
Cooking Tips for Perfect Artisan Bread
Crafting easy homemade artisan bread in your kitchen can feel like a delightful adventure. The process requires a bit of patience, but trust me, the results are unequivocally worth the wait.
Importance of timing in the dough-setting phase
Timing is everything when it comes to letting your dough rise. Depending on the temperature of your kitchen, your dough may need more or less time to ferment. A warm environment encourages quick fermentation, while cooler settings slow it down. Ensure you give your dough enough time to develop flavor—an extended second rise can really elevate your bread.
Tips on handling super sticky dough
Sticky dough can be daunting, but don’t worry! Here are a few tricks to make handling it a breeze:
- Wet your hands: Dampen your hands lightly before touching the dough. This minimizes stickiness without adding extra flour.
- Use a bench scraper: This handy tool helps you lift and fold the dough effortlessly, keeping your hands clean.
- Flour as needed: Don’t hesitate to sprinkle a little flour on the workspace, but avoid over-flouring to keep your bread light.
Alternative baking options for different cookware
If you don’t have a Dutch oven, don’t fret! Here are some alternatives:
- Baking stone: Preheat a baking stone in the oven. Place a pan filled with water at the bottom for steam.
- Cast iron skillet: You can achieve a similar steam effect by covering your dough with a metal bowl during the first part of baking.
- Sheet pan: Simply bake on a parchment-lined sheet pan, though the crust won’t be as crispy.
With these tips, you’ll be well on your way to baking perfect easy homemade artisan bread that will impress even the most discerning palates!
Time Breakdown for Easy Homemade Artisan Bread
Creating easy homemade artisan bread is not only satisfying but also fits seamlessly into your busy lifestyle. Here’s how you can carve out time for each step of the process.
Preparation time
This stage takes about 20 minutes, where you mix the flour, water, yeast, and salt. It’s a straightforward process, allowing you to enjoy the sensory experience of working with dough.
Resting time
The magic truly happens during the resting phase, lasting from 12 to 18 hours. This allows the dough to rise and develop rich flavors. Simply cover it and let it sit.
Baking time
Plan for around 30-40 minutes in the oven, where the dough transforms into a beautifully crusty loaf. The aroma alone will make it worth the wait!
Total time
In total, you’re looking at a time commitment of approximately 13 to 19 hours. But remember, most of that is hands-off! The little time you invest gives you delicious, homemade artisan bread that’s well worth it.
Nutritional Information for Easy Homemade Artisan Bread
When you whip up your easy homemade artisan bread, it’s nice to know what you’re savoring. While it’s undoubtedly delicious, understanding its nutritional profile can help you enjoy it responsibly.
Calories
A typical serving of this artisan bread contains approximately 140 calories. This makes it a satisfying choice without overindulgence.
Carbohydrates
Each slice packs about 28 grams of carbohydrates. These come primarily from the flour and are a great source of energy to fuel your day.
Fiber
You’ll find around 1 gram of fiber per slice, which is beneficial for digestive health. Consider adding seeds or whole grains to your recipe for an extra fiber boost!
Mastering the art of easy homemade artisan bread not only fills your kitchen with enticing aromas but also offers a more nutritious choice than many store-bought breads. Enjoy indulging without the guilt!
FAQs About Easy Homemade Artisan Bread
Making easy homemade artisan bread can be a delightful journey, but questions often pop up along the way. Here are some common queries to help you through the process.
How can I prevent sticky dough?
Sticky dough can sometimes be a hassle, but a few tips can help! Firstly, make sure your flour is properly measured. Spoon it gently into the measuring cup and level it off with a knife. If you find your dough is still too sticky, you can sprinkle in a bit more flour while kneading, but avoid adding too much; you don’t want a dense bread!
Can I use whole wheat flour instead of all-purpose?
Absolutely! Substituting whole wheat flour for all-purpose flour is a great option. However, because whole wheat absorbs more moisture, you might need to adjust the liquid in your recipe slightly. A ratio of 50% whole wheat to 50% all-purpose flour is a fantastic way to maintain a light texture while adding some whole grain nutrition to your easy homemade artisan bread.
What if I don’t have a pot with a lid?
If you don’t have a pot with a lid, don’t sweat! You can use a heavy-duty baking pan and cover your dough with a large, oven-safe bowl. Alternatively, a foil tent works well to trap some steam. The goal is to create a humid environment for the bread to rise and bake beautifully.
How do I store my homemade artisan bread?
To keep your easy homemade artisan bread fresh, store it in a paper bag at room temperature, which helps maintain its crust. For longer storage, slice and freeze your bread. Thaw slices as needed for a fresh, warm taste whenever you crave it!
Conclusion on Easy Homemade Artisan Bread
Baking easy homemade artisan bread can be both rewarding and an enjoyable experience, bringing the comforting aroma of freshly baked bread right to your kitchen. Not only does this recipe allow you to experiment with flavors and textures, but it also provides a sense of accomplishment that comes from creating something from scratch. Whether you’re sharing it with friends or savoring it on your own, each loaf becomes a part of your story. So, roll up your sleeves, embrace the bread-making journey, and indulge in the delicious results of your efforts. Your taste buds will thank you!
Print
Simple No-Knead Bread
- Total Time: 12-18 hours
- Yield: 1 loaf 1x
- Diet: vegetarian
Description
This simple no-knead bread recipe results in a delicious, crusty loaf that’s easy to make.
Ingredients
Scale
- 3 cups flour
- 1¾ teaspoon salt
- ½ teaspoon yeast
- 1½ cups water
Instructions
- In a large mixing bowl, combine flour, salt and yeast.
- If you want to add anything to the bread (seasonings, cheese, raisins) add it in now.
- Stir in water. The dough will be very sticky.
- Cover the bowl with plastic wrap and let set out for 12-18 hours. I know it seems like a long time, but it will be worth it!
- Heat oven to 450 F (or 230 C). Now here is where the original recipe differs from what I did. The original recipes uses a cast iron pot with a lid (such as a Le Creuset). I do not have one of these fancy shmancy pots (though I’d love one!), so I used an old crockpot liner. Please don’t ask why I have an old crockpot liner, that’s a whole other story. Anyway, this worked great for baking this bread! I did remove the handle from the lid since it is plastic!!
- Place the pot and lid in the heated oven. Let sit in the oven for 30 minutes.
- While the pot is heating through, take the super sticky dough out of the bowl and place on a very floured surface. Shape into a ball (do not knead it). Cover with the plastic wrap you were using earlier.
- Once the pot is ready, remove it from the oven. Place the super sticky dough in the HOT, HOT pot. Please be very careful!! Put the lid on top. (Since I am using the old crockpot liner without the handle on the lid, I put my lid on upside down for easier removal later.)
- Bake at 450 F for 30 minutes.
- Your bread will look beautiful. Remove the lid and bake another 15 minutes.
- Wala! Remove the bread from the pot and let cool on a wire rack. Your house should smell wonderful and you should feel very proud. What a creation. Enjoy!
Notes
- This recipe is flexible; feel free to experiment with different add-ins like herbs or spices.
- Ensure that the pot you’re using can withstand high temperatures.
- Prep Time: 15 minutes
- Cook Time: 45 minutes
- Category: Breads
- Method: baking
- Cuisine: American
Nutrition
- Serving Size: 1 slice
- Calories: 200
- Sugar: 0g
- Sodium: 300mg
- Fat: 1g
- Saturated Fat: 0g
- Unsaturated Fat: 0g
- Trans Fat: 0g
- Carbohydrates: 40g
- Fiber: 2g
- Protein: 6g
- Cholesterol: 0mg