Follow Me On Social Media!

Homemade White Bread: The Easiest Way to Soft, Fresh Loaves
Introduction to Homemade White Bread
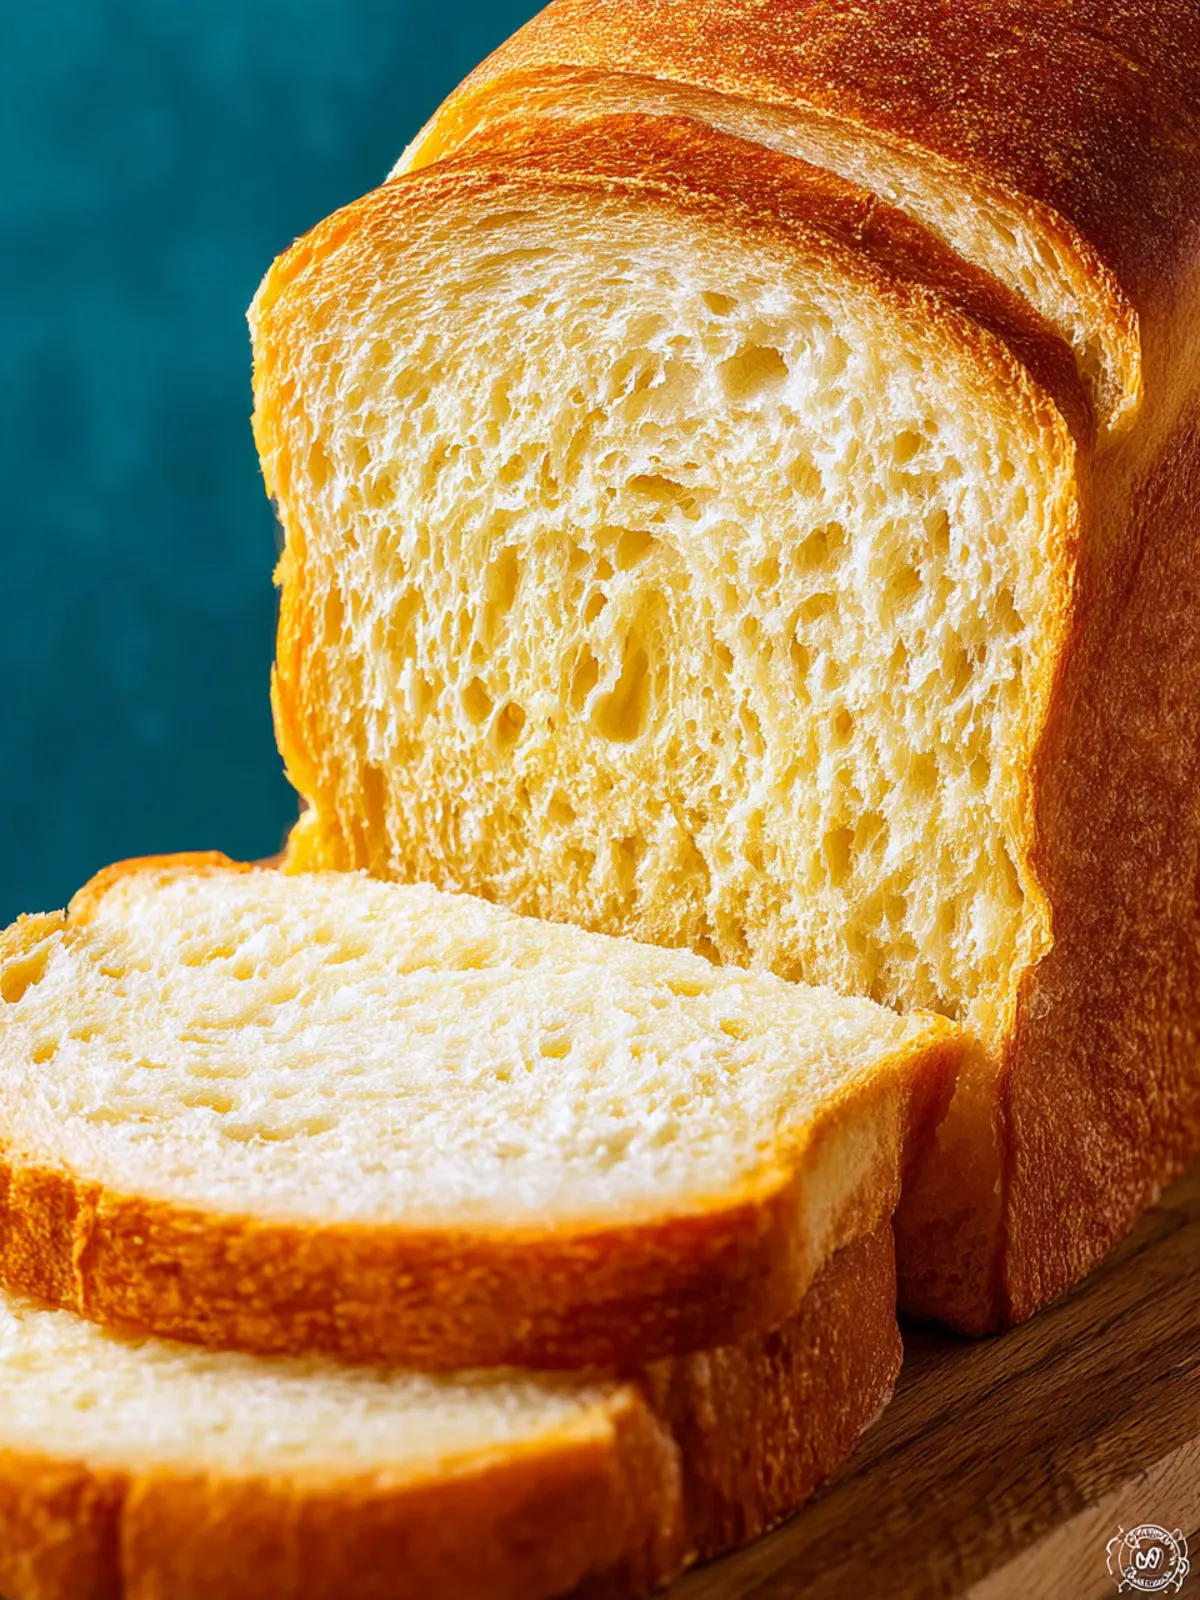
Imagine the warm, soothing aroma of fresh homemade white bread wafting through your kitchen, enveloping you in a sense of comfort and nostalgia. There’s something undeniably special about baking your own bread, a simple act that turns mere ingredients into a loaf of love. The texture, the golden crust, and that first slice slathered with butter—it’s an experience that transcends a busy weekday.
The Joy of Baking Your Own Bread
Baking homemade white bread isn’t just about feeding yourself; it’s about crafting an experience. Each ingredient tells a story: the flour, milled from wholesome wheat, combines with yeast, the miracle worker that transforms liquid and flour into a beautiful dough. With a few simple steps, you can create something not only delicious but also deeply fulfilling.
Consider this—research indicates that home-baked goods can lead to improved mental well-being. A study by the American Psychological Association highlighted that participating in creative activities can significantly reduce stress. When you knead that dough, you’re not just shaping ingredients; you’re engaging in a meditative process that can soothe your mind as well.
Baking bread offers a chance to connect with your dining experience on a deeper level. Have you ever had a meal enhanced by the simple addition of freshly baked bread? Whether it’s a rustic bruschetta for an appetizer, a perfect sandwich, or as the base for your avocado toast, your homemade white bread adds a layer of flavor that store-bought loaves often lack.
Moreover, it’s a fantastic way to impress friends and family. A homemade loaf presents an unspoken warmth and love that show your guests just how much you care. There’s joy in sharing a slice with someone—and that’s a memory in itself.
So if you’re ready to embark on this fulfilling journey of baking and creating something truly special in your own kitchen, gather your ingredients and let’s get started with this delightful homemade white bread recipe. You might just find it becomes a new tradition in your home.
Key Ingredients for Homemade White Bread
Crafting the perfect homemade white bread is not just a recipe; it’s a comforting ritual that fills your kitchen with warmth and nostalgia. Each ingredient plays a vital role in creating that soft, fluffy texture and delightful aroma that can transport you right back to your grandmother’s kitchen.
-
Flour: I rely on all-purpose flour for its versatility and balanced protein content, which helps create a light texture. If you’re feeling adventurous, bread flour can provide a chewier crust, but don’t worry—both work beautifully.
-
Yeast: Active dry yeast is my go-to for a reliable rise. It’s crucial for that airy, fluffy mainstay. Just make sure to activate it properly with warm water, ensuring your bread rises perfectly.
-
Sugar: A bit of granulated sugar not only sweetens the dough but also helps to activate the yeast, setting the stage for that ideal rise.
-
Salt: Salt is a flavor enhancer that controls yeast growth, preventing your bread from over-fermenting. It’s all about balance.
-
Water: Warm water provides the perfect environment for yeast to thrive. Make sure it’s not too hot or cold—ideally around 110°F.
-
Butter: For that rich, comforting taste, I fold in melted unsalted butter. It adds moisture and a lovely flavor, ensuring your homemade white bread is deliciously smooth.
Each of these ingredients brings something unique to the table, making your homemade white bread not just a meal but a heartwarming experience.
Why You’ll Love This Homemade White Bread
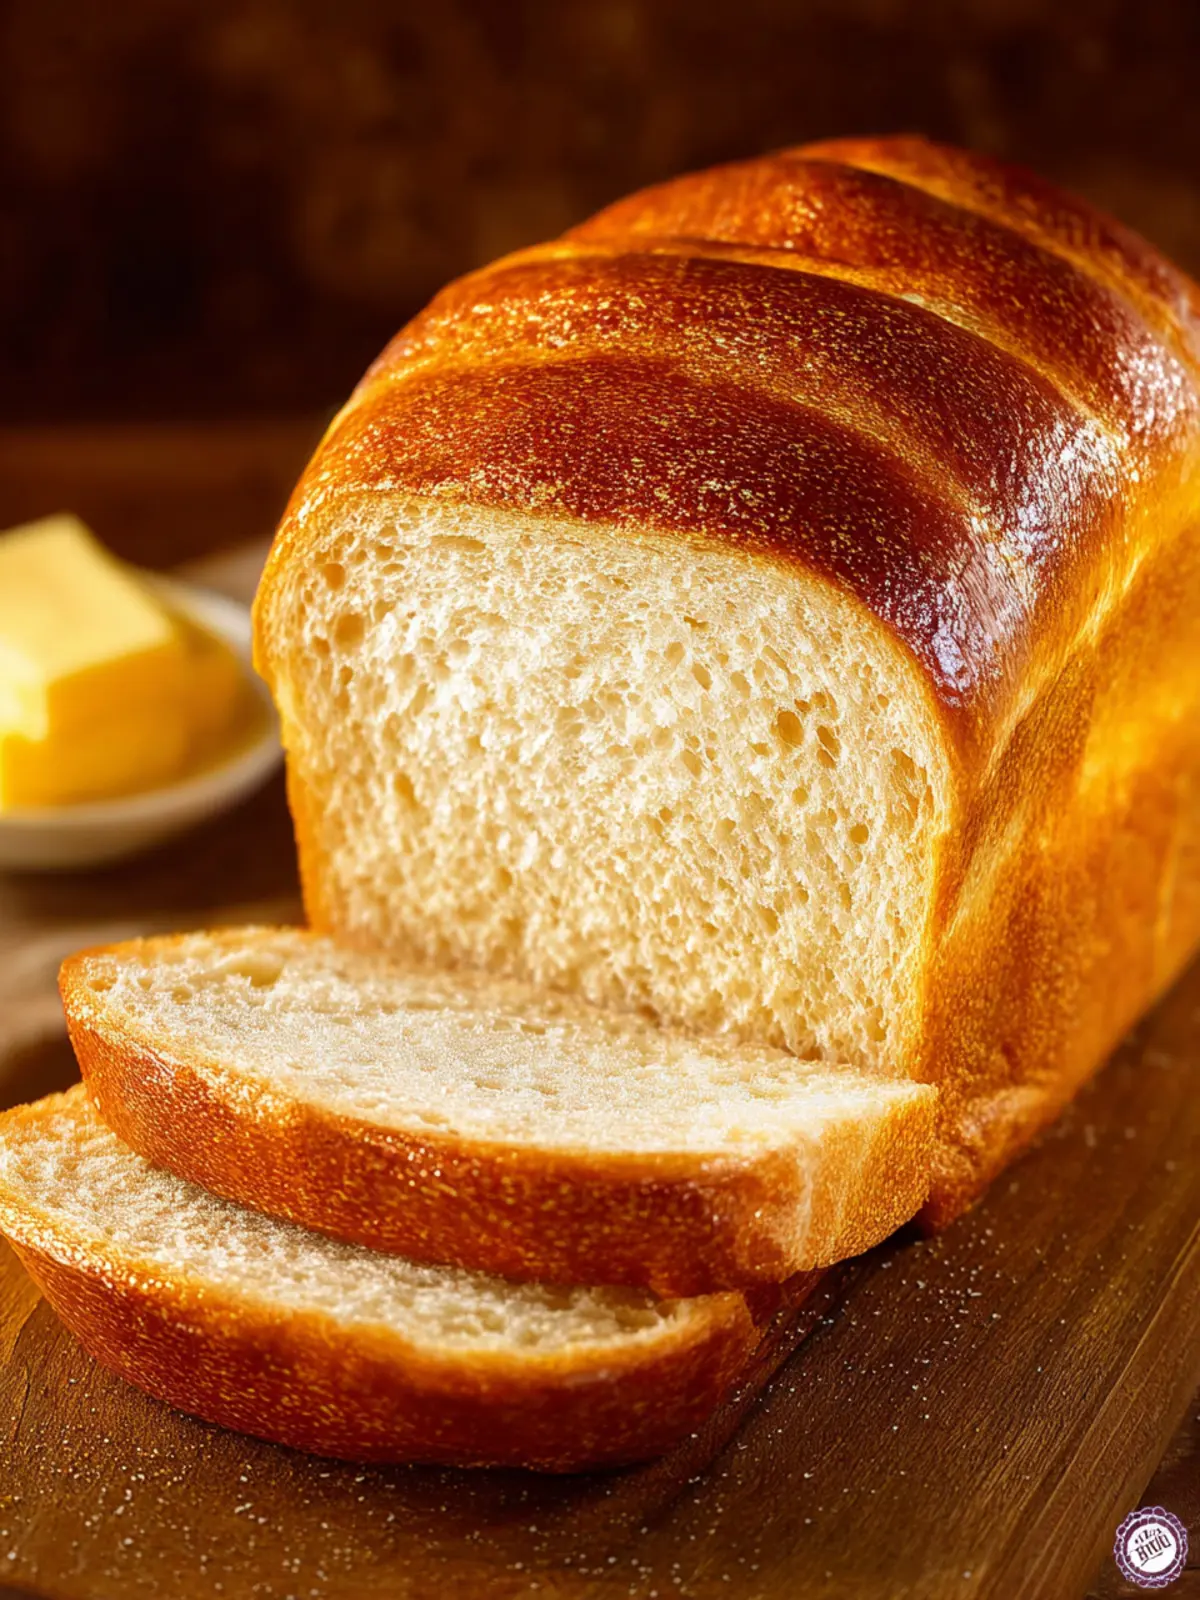
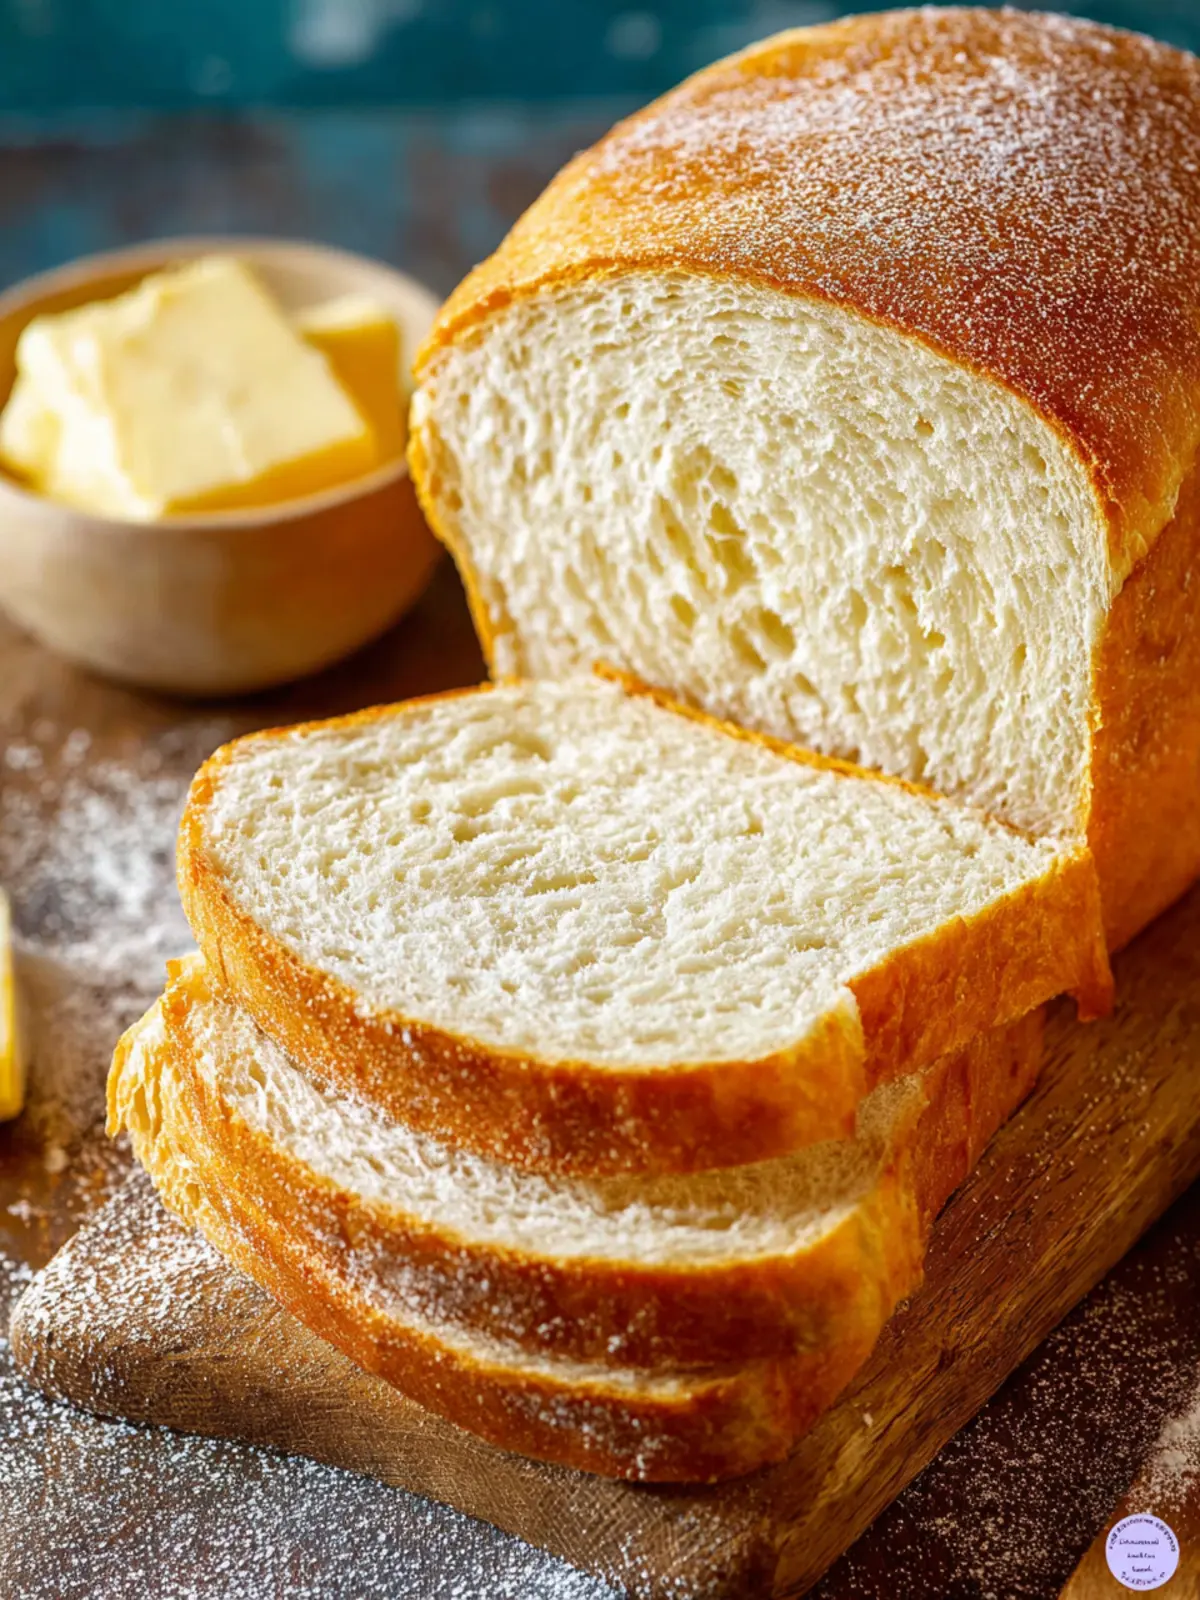
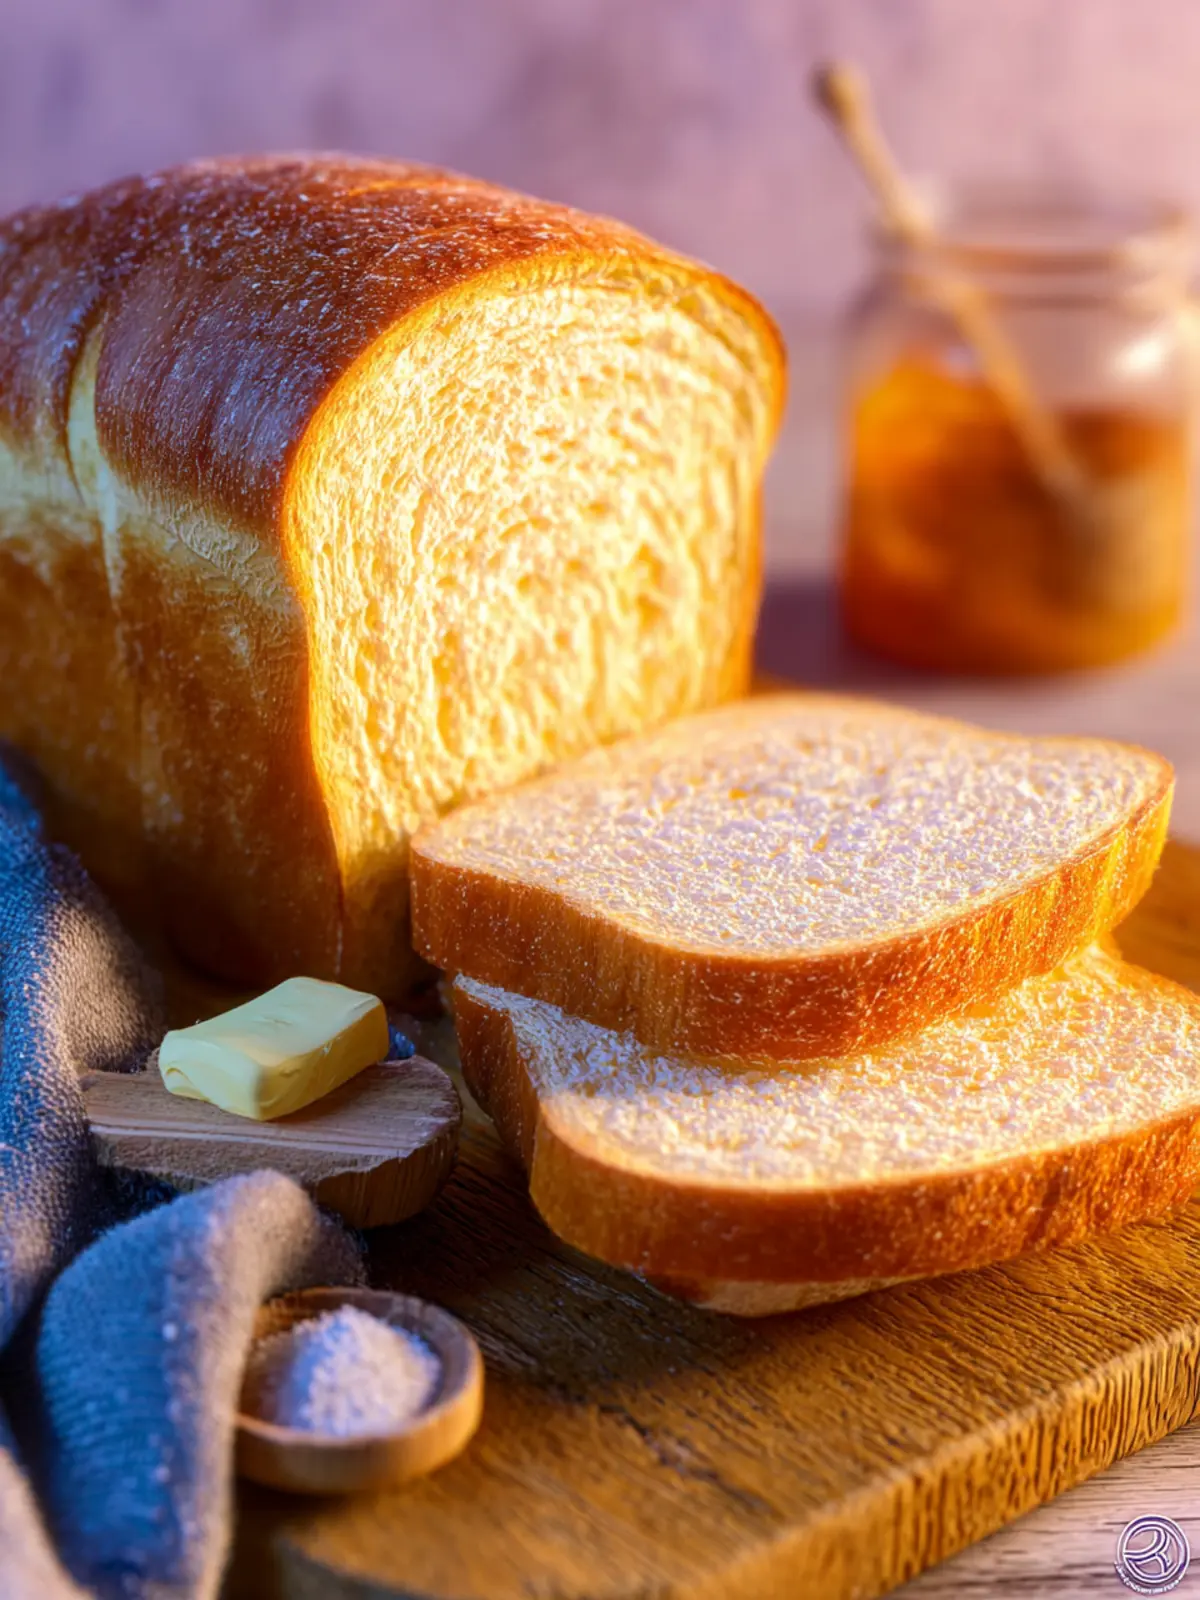
Creating homemade white bread is like wrapping yourself in a warm blanket on a chilly day. There’s something undeniably satisfying about kneading dough and watching it rise, transforming basic ingredients into something comforting and delicious. Imagine the smell wafting through your kitchen, enticing everyone to gather around as you pull a loaf out of the oven, golden-brown and boasting a soft crust.
The ultimate comfort food experience
-
Freshness and Flavor: Nothing beats that first slice of homemade bread, still warm from the oven. You get to enjoy soft, pillowy slices that are bursting with flavor, unlike anything store-bought.
-
Versatility: Whether you’re slathering on butter, creating delicious sandwiches, or toasting for breakfast, homemade white bread offers endless possibilities.
-
Connection to Tradition: Baking bread is an age-old practice that connects you to generations of home bakers. Each loaf tells a story of nurturing and care.
-
Nutritional Control: When you make it at home, you can control the quality of ingredients. It’s an easy way to ensure there are no preservatives or artificial additives.
As you dive into this homemade adventure, you’ll appreciate each step – from measuring out the flour to savoring that perfect bite. It’s more than just bread; it’s a labor of love that yields joy for you and your loved ones.
Tips for Making Perfect Homemade White Bread
Crafting homemade white bread is not just a culinary endeavor; it’s a delightful journey that fills your kitchen with warm, toasty aromas and offers the promise of soft, fresh slices perfect for sandwiches or morning toast. Here are some helpful tips to refine your bread-making skills.
Mastering the Art of Bread-Making
-
Quality Ingredients: Start with high-quality flour. All-purpose flour works great, but using bread flour can give you an even better rise. Fresh yeast, if available, is also worth considering for an added boost.
-
Temperature is Key: Ensure your water is warm—not too hot! Ideal temperatures are around 110°F to 115°F. This is perfect for activating the yeast, which is essential for your bread rising beautifully.
-
Knead with Care: Kneading develops gluten, which gives bread its structure. A good rule of thumb is about 8-10 minutes of kneading. Your dough should be smooth and elastic, but not overly sticky.
-
Let it Rise: Namely, the first rise. After shaping the dough, let it rest in a warm spot, covered with a damp cloth. Aim for it to double in size; this can take anywhere from 1 to 2 hours, depending on the temperature of your kitchen.
-
Avoid Overbaking: Keep a close eye on your bread as it bakes. The golden-brown crust should sound hollow when tapped, typically around 25-30 minutes at 350°F. Overbaking can lead to a dry loaf!
With these tips, you’ll soon be on your way to enjoying perfectly baked homemade white bread that your friends and family will love. Happy baking!
Time Breakdown for Homemade White Bread
Creating homemade white bread is a delightful mix of simple ingredients and a little patience. Each step adds to the charm of this warm, comforting loaf. Here’s a quick overview of what to expect as you embark on this baking journey.
Preparation time
Start your adventure with about 15 minutes of preparation. Measure out your flour, yeast, salt, and any other ingredients. Mixing them together is quick, and the smell of freshly combined ingredients will kick off your baking excitement!
Rising time
The homemade white bread needs time to rise, about 1.5 to 2 hours. Be patient! This step is crucial for achieving that light, fluffy texture we love. You can use this time to clear the kitchen or plan your next meal.
Baking time
Once your dough has risen, allocate about 30 minutes for baking. Watching the dough transform into a golden-brown loaf is a rewarding experience.
Total time
In total, you’ll spend around 2 to 2.5 hours from start to finish. With relatively minimal hands-on time, you can easily fit this baking project into your weekend. Enjoy the journey to delicious homemade white bread!
Nutritional Facts for Homemade White Bread
Creating homemade white bread not only fills your kitchen with the irresistible scent of baking but also offers essential nutrients. Here’s a breakdown of the nutritional aspects to keep in mind:
Calories
A single slice of homemade white bread typically contains around 70-80 calories, depending on the specific recipe and ingredients. This makes it a manageable addition to any meal.
Protein
Packed with around 3 grams of protein per slice, homemade white bread provides a decent energy source, helping to keep you full and satisfied, especially when enjoyed with protein-rich toppings.
Carbohydrates
With about 15 grams of carbohydrates in each slice, homemade white bread serves as a vital source of energy, perfect for powering through your busy day.
Sodium
Most homemade white bread recipes contain around 120-200 milligrams of sodium per slice, which is relatively low, making it a heart-healthy option in moderation.
Crafting your own bread is not just delightful; it’s also a great way to control what goes into your food!
FAQs about Homemade White Bread
Homemade white bread can bring a delightful aroma to your kitchen, evoking memories of cozy family gatherings and shared meals. Whether you’re a novice baker or an experienced cook, questions are bound to arise when working with this beloved recipe. Let’s explore some of the most common queries about creating the perfect loaf.
How can I make my homemade bread fluffier?
To achieve a lighter, fluffier homemade white bread, consider these tips:
- Use high-protein flour: Bread flour typically has a higher protein content than all-purpose flour, which helps in gluten development for a better rise.
- Add steam in the oven: Placing a pan of hot water in the oven while baking can create steam, allowing the bread to expand fully.
- Knead properly: Kneading helps develop gluten, so don’t skip this step! Aim for about 10 minutes of kneading until the dough is smooth and elastic.
Can I use whole wheat flour instead?
While whole wheat flour can be used, it will change the texture and flavor of your homemade white bread. If you want to incorporate it, try substituting up to 50% of the all-purpose flour with whole wheat flour to maintain a softer texture.
What should I do if my bread doesn’t rise?
If your bread doesn’t rise, here are some potential fixes:
- Check your yeast: Ensure your yeast is fresh and active. You can proof it by mixing it with warm water and sugar; it should bubble within 10 minutes.
- Temperature matters: Make sure your dough is rising in a warm, draft-free location. Room temperature or slightly warmer can encourage proper fermentation.
How do I store homemade bread for freshness?
To keep your homemade white bread fresh longer, follow these storage tips:
- Cool completely: Before storing, allow your bread to cool thoroughly to avoid condensation.
- Wrap tightly: Use plastic wrap or a bread bag to seal in moisture without making the crust soggy.
- Consider freezing: If you won’t finish it within a few days, slice the bread and freeze it in an airtight container. Thaw only what you need for the best taste.
With these FAQs addressed, you’re well on your way to baking delicious homemade white bread. Happy baking!
Conclusion on Homemade White Bread
Embrace the joy of baking! Crafting your own homemade white bread isn’t just about the ingredients; it’s an experience that fills your kitchen with warmth and delightful aromas. As you knead the dough, you can feel the tactile connection with each fold and turn, bringing the bread to life. The satisfaction of slicing into a fresh loaf—golden brown and slightly crunchy on the outside, yet soft and fluffy inside—is unparalleled. Whether you slather it with butter or pile it high with your favorite fillings, each bite is a reminder of the simple pleasures of homemade goodness. So, roll up your sleeves and let your baking journey begin!
Print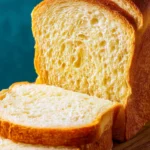
Homemade Bread
- Total Time: 1 hour 50 minutes
- Yield: 2 loaves 1x
- Diet: Vegetarian
Description
A simple recipe for homemade bread that’s perfect for sandwiches or to enjoy with butter.
Ingredients
Scale
- 5½ cups all-purpose flour (spooned and leveled, divided)
- ¼ cup nonfat dry milk
- 3 tbsp granulated sugar
- 3 tbsp unsalted butter (softened to room temp)
- 2¼ tsp active dry yeast
- 2 tsp kosher salt
- 2 cups warm water (about 115°F)
- 2 tbsp melted butter (for finishing, optional but recommended)
Instructions
- Add 2 cups of the flour, dry milk, sugar, butter, yeast, and salt to the body of a stand mixer. With the hook attachment, mix it around just to combine for a few turns.
- Add the water and mix to combine.
- On slow speed, begin to add the flour a little at a time until you come to 5 cups of flour. Place the mixer on medium-high speed, and the dough should clean the sides of the bowl after a couple of minutes. If it doesn’t, add a little more flour at a time until it does, up to ½ cup more.
- Continue to mix/knead the dough on medium-high speed for 10 minutes. The dough will be smooth and elastic.
- Spray the dough with a little cooking spray and roll it around in the bowl, so it is lightly coated. Cover with plastic wrap and let it rise in a warm place in your house for about 1 hour.
- Take off the plastic wrap and punch the dough down in the bowl to release the air bubbles.
- Lightly flour a clean work surface. Knead the dough a few times by hand to get any additional air bubbles out, about 1 minute.
- Spray two 9×5 loaf pans with cooking spray.
- Divide the dough into two even pieces. With your hands, form them into a log. Place each log into a prepared baking pan.
- No need to cover the dough again. Let them rise until doubled in size, about 30-45 minutes.
- While they are doing the second rise, preheat the oven to 400°F.
- Once doubled, make a slit down the center of the bread. Place the loaves into the oven and immediately lower the temperature of the oven to 350°F. Bake for 30-35 minutes until golden brown.
- Remove from the oven and immediately brush the bread with the melted butter. Let cool in the pan for 5 minutes.
- Take out of the pans and cool on a wire rack completely before slicing.
Notes
- This bread can be customized with herbs or spices for added flavor.
- Store in an airtight container to keep it fresh.
- Prep Time: 15 minutes
- Cook Time: 35 minutes
- Category: Bread
- Method: Baking
- Cuisine: American
Nutrition
- Serving Size: 1 slice
- Calories: 150
- Sugar: 1g
- Sodium: 200mg
- Fat: 3g
- Saturated Fat: 1g
- Unsaturated Fat: 2g
- Trans Fat: 0g
- Carbohydrates: 27g
- Fiber: 1g
- Protein: 4g
- Cholesterol: 5mg